How to Choose the Right Molding Mold for Your Needs
Choosing the right molding mold begins with the part, not the catalog. A thin-walled enclosure, a clear lens, and a reinforced bracket place very different demands on tooling. Material, dimensions, surface finish, annual volume, and acceptable cycle time all matter. A mold that looks affordable upfront may create costly delays if cooling is uneven or ejection marks spoil the surface.
John Beaumont, an injection-molding author and educator, has helped shape practical understanding of mold design. Rather than invent a quotation for him, this guide uses an editorial principle inspired by established molding practice: “A sound molding mold fits the part, the material, and the production target.” It is a useful starting point, not a verified quotation. Small distinction. Important one.
The sections ahead will explain how to compare mold materials, cavity counts, cooling layouts, and maintenance needs. They will also show which questions to ask suppliers before approving a design. For example, can the mold release a textured part without damaging its edges? Are spare inserts available? Is the expected output realistic for the press and resin? These details deserve clear answers. Even experienced teams sometimes overlook one. No single mold suits every project, and the cheapest option is not always the least expensive to run. A careful choice balances part quality, production reliability, and the practical limits of the manufacturing process.
Identify the Product Requirements and Production Goals
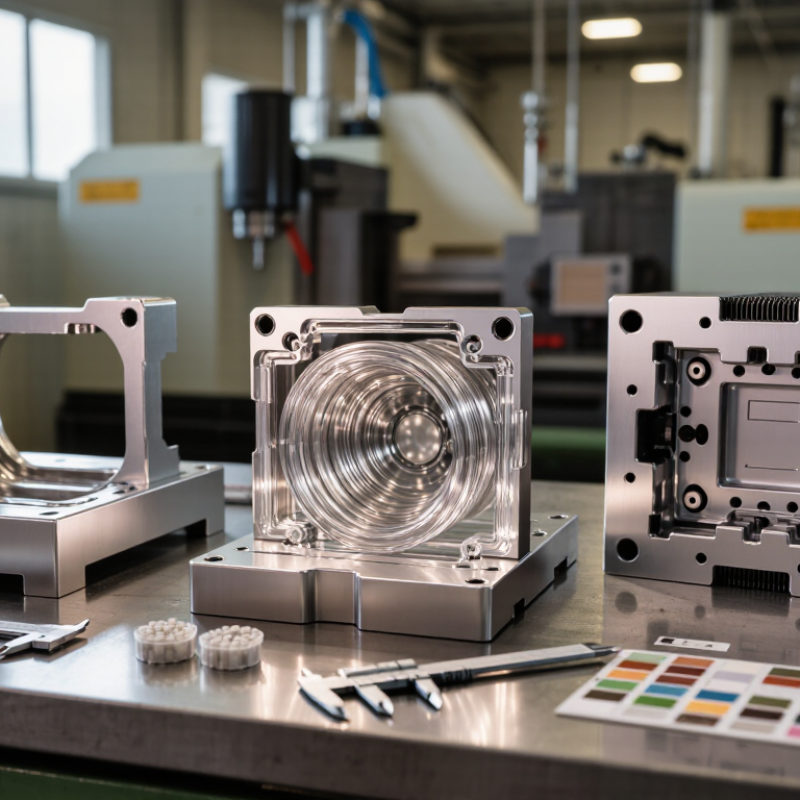
Start with the part itself, not the mold catalog. List its material, dimensions, wall thickness, surface finish, and critical tolerances. A thin rib may cool differently from a thick boss, while a visible surface can reveal tiny flow marks. Check the part drawing against the real operating conditions. A draft drawing may not show every fit or cosmetic requirement.
Then define the production goal. Estimate annual demand, batch size, and expected tool life. A short run may favor a simpler mold, while steady, high-volume production can justify more cavities and automated ejection. Confirm the available machine’s clamp force, shot capacity, and platen size. A mold that fits the part but not the press is no solution. Cycle time matters, too. Cooling layout can affect both output and dimensional stability.
Include practical limits. Ask how often the mold will run, who will maintain it, and how quickly repairs must be completed. Specify acceptable scrap rates and inspection methods before choosing a design. That estimate is easy to get wrong. If requirements are uncertain, record the assumptions and test a sample part before committing to production. A small change in resin or wall thickness can alter shrinkage, filling, and ejection, so revisit the specifications when the product changes.
How to Choose the Right Molding Mold for Your Needs
Identify product requirements and production goals before choosing a mold.
Example planning scores only—not industry benchmarks. Rank each factor for your part and production plan; geometry, material, volume, tolerances, finish, and cycle-time targets can all affect mold design and cost.
Compare Molding Processes and Suitable Mold Types
Choosing a mold starts with the part, material, and expected production volume.
Injection molding suits detailed plastic parts and repeat runs; steel molds tolerate long production cycles, while aluminum molds can reduce cost for shorter runs. Compression molding works well for thicker parts and some thermoset materials, using matched heated mold halves. Blow molding forms hollow parts, such as bottles, in a cavity designed around the inflated shape. Thermoforming uses a heated sheet drawn over or into a mold, often making simpler, larger shells. Each process leaves different design limits.
Compare more than the mold price.
Check part geometry, surface finish, draft angles, cooling time, and how easily the part releases. A complex injection mold may justify its cost at high volumes, but not for a small pilot run. Aluminum can be a sensible trial option, though it may wear sooner under demanding production. Compression molds need suitable press capacity and careful control of heat and pressure. A small prototype run can reveal problems that drawings miss. It can also change the plan.
Tips:
Ask the molder for examples using a similar resin and wall thickness. Confirm expected cycle time, maintenance needs, and tolerance limits. Leave room for revision; early estimates are not guarantees. A few minutes spent reviewing the parting line can prevent an awkward seam on a visible surface.
Select Mold Materials and Design Features
Mold material should match the resin, production volume, and expected cycle conditions. Aluminum molds conduct heat well and can support faster cooling, but they may wear sooner under abrasive or glass-filled materials. Hardened steel usually handles longer production runs, though machining and repair can cost more. Check the resin’s processing temperature and chemical behavior before deciding. Small details matter.
Design features affect part quality as much as material does. Adequate draft helps parts release without scuffing, while well-placed vents let trapped air escape. Cooling channels should follow the shape of the part where practical; uneven cooling can cause warping or long cycle times. Gate location also deserves attention. A gate placed on a visible surface may leave a mark that is hard to accept on a finished product.
Ask the mold maker to review wall thickness, ribs, and tight corners against the intended resin and machine. A very thin rib can fill poorly, while a thick junction may sink as it cools. Not always. A design that looks efficient on screen can still need adjustment after a trial run. Plan access for cleaning and routine maintenance, too. The least expensive mold may not be the least costly choice over its service life.
Evaluate Tooling Costs, Lead Times, and Maintenance Needs
Choosing a molding mold starts with total cost, not the quote alone. A low-priced tool can become expensive if it needs frequent polishing, manual adjustments, or long setup checks. Ask what the quote includes: cavity count, steel grade, cooling layout, sampling rounds, spare inserts, and delivery. Get exclusions in writing. Small omissions add up.
Lead time depends on geometry, material availability, tool complexity, and how quickly design changes are approved. Request a schedule with checkpoints for design review, machining, first shots, and corrective work. Compare it with your launch date, leaving room for trials that reveal flash, sink marks, or uneven filling. A promised date is not always a usable production date. That distinction matters. If the part is still changing, a simpler mold may reach testing earlier, though it could limit later output.
Maintenance affects cost over the mold’s working life. Ask how often vents, ejector pins, slides, and cooling channels need inspection. Check whether worn parts can be replaced without major disassembly. Confirm that technicians can access service areas safely. Keep a basic log after each run: cycle count, cleaning, repairs, and recurring defects. It is not glamorous, but useful. Be honest about your maintenance capacity; a sophisticated tool is a poor choice if no one has time to care for it. Estimates here can be too optimistic.
How to Choose the Right Molding Mold for Your Needs — Evaluate Tooling Costs, Lead Times, and Maintenance Needs
Planning note: Cost and lead-time figures are broad industry estimates, not quotations. Part size, geometry, tolerances, surface finish, cavity count, resin, mold standards, and supplier capacity can substantially change them. Confirm expected tool life and maintenance intervals with the mold maker for the specific application.
Verify Mold Performance Through Testing and Quality Checks
A mold can look precise on a drawing and still produce uneven parts. Before approval, run it with the intended resin, machine settings, and production cycle. Measure critical features on samples from several cycles, not just one. Check cavity filling, flash, sink marks, and ejection damage. Watch the part as it cools.
Small variations matter.
Record temperatures, cycle times, and any adjustments, so later checks have a useful baseline. In practice, a neat first sample can create false confidence.
Repeat the trial after the mold has warmed to a steady operating condition. Inspect parts from each cavity separately, using suitable gauges or measurement tools. Compare dimensions with the drawing and note any readings close to tolerance limits. Ask operators to report sticking, unusual noise, or inconsistent release; these observations can reveal problems measurements miss. No test catches everything. If a result changes between runs, investigate before accepting the mold, even when most samples pass. Keep the findings with the mold’s maintenance records, and review them after repairs or process changes.